Here are some belated images from the opening in London where the Glass Slipper first met the public, and is still residing. Brent, the fantastic curator of the Philips De Pury design program, told me that there were over 700 people at the opening for Projectory, which is excellent news.
Brent Dzekciorius, curator, making sure all's in order before the doors open
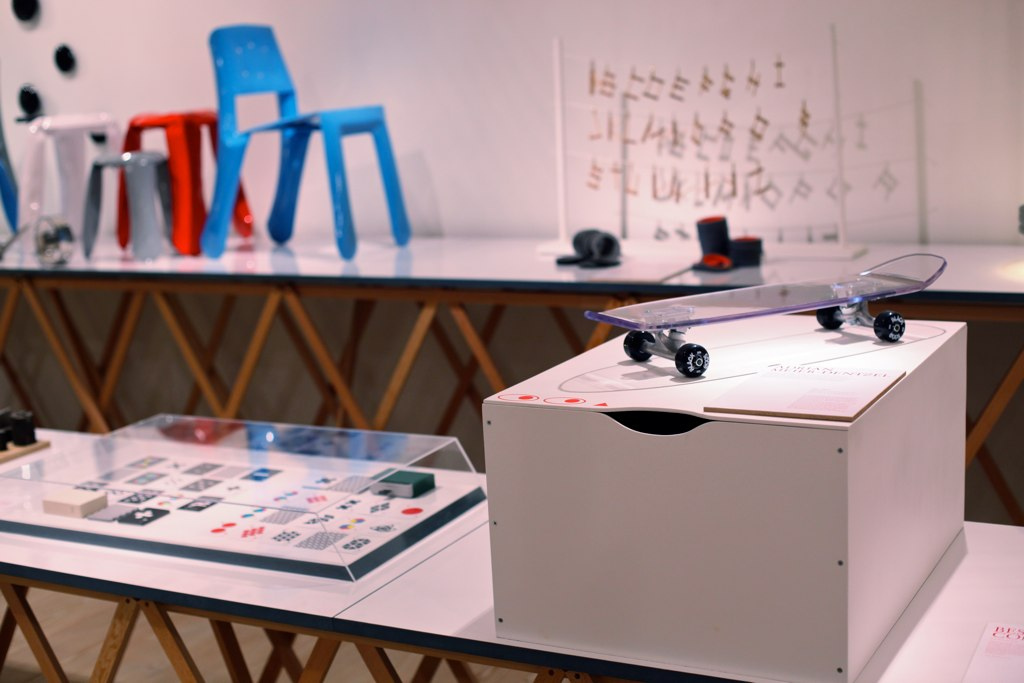
The diagram means: "look inside the white box and see the glowing crystal"
NOT "deposit fried eggs here"
In good company: Tauba Auerbach's Two Decks of Cards to the left...
...and Best Made Co. axes to the right.
This guy never took his scarf off, which made more sense when I learned that keeping your scarf on at openings is a contractual necessity of being part of the Association of Perennially-Tan European Art Collectors.